The calibration of a pressure transducer consists of applying specific pressures in very accurately measured steps and recording the corresponding output (mV, VDC, mA) for each step. The measured output values are then compared with the designed output values to see if they are within the design specifications of the transducer.
Periodic calibration of any pressure transducer is recommended as verification of proper operation within designed specifications. How often calibration is performed will depend on the application and frequency of use the pressure transducer has seen. For example, an instrument that is used infrequently and merely sits in storage might be calibrated only once every 12 months. For transducers that are used to perform aggressive testing on a daily basis, the user may want to calibrate the transducer every few weeks.
When the application is critical, the user may even decide to calibrate the pressure transducer prior to each test. Taber Industries’ recommendation is to calibrate transducers more frequently at first (6-8 months) until the user determines through experience that longer intervals between calibrations are more practical.

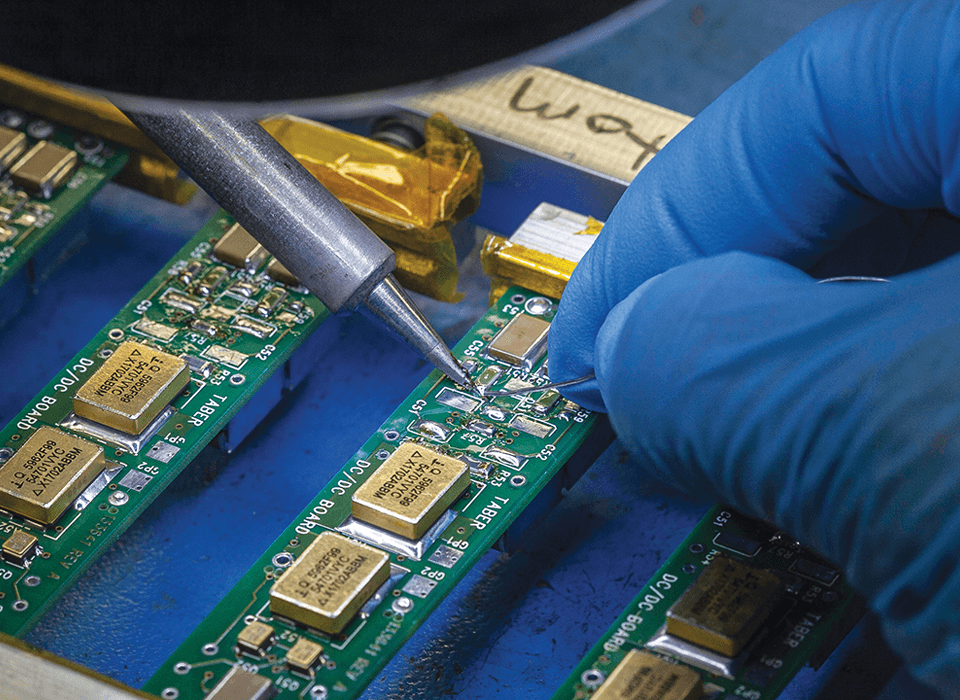
With decades of experience in the design, manufacture, and calibration of pressure transducers, Taber Industries has the capabilities and resources to calibrate and rework most pressure transducers we have sold. If a particular transducer has accessible Zero and Span potentiometers, the transducer can often be adjusted so the output is within the designed tolerance.
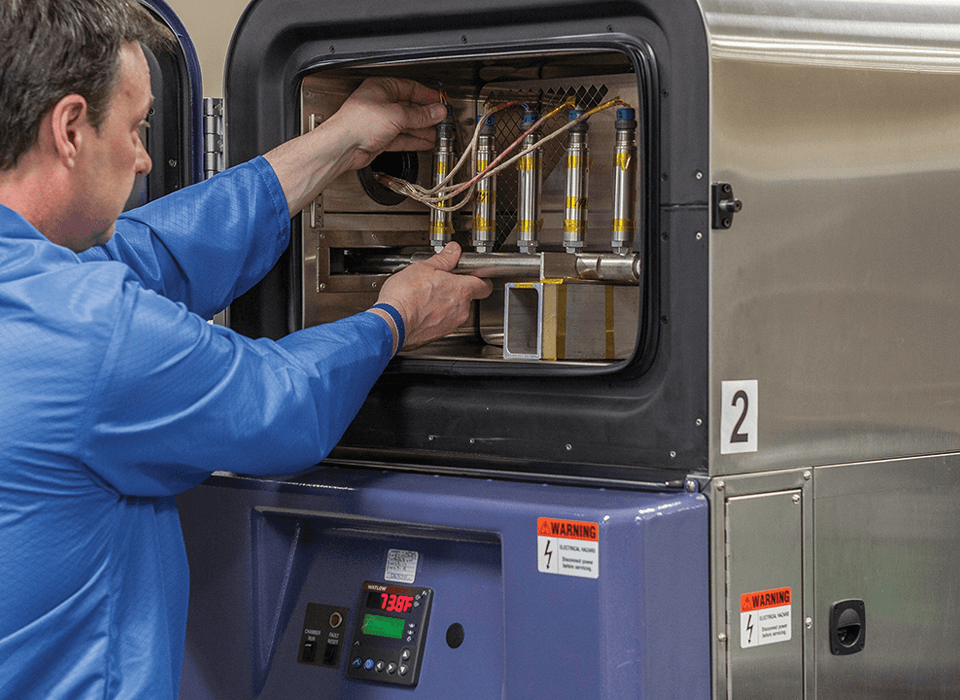
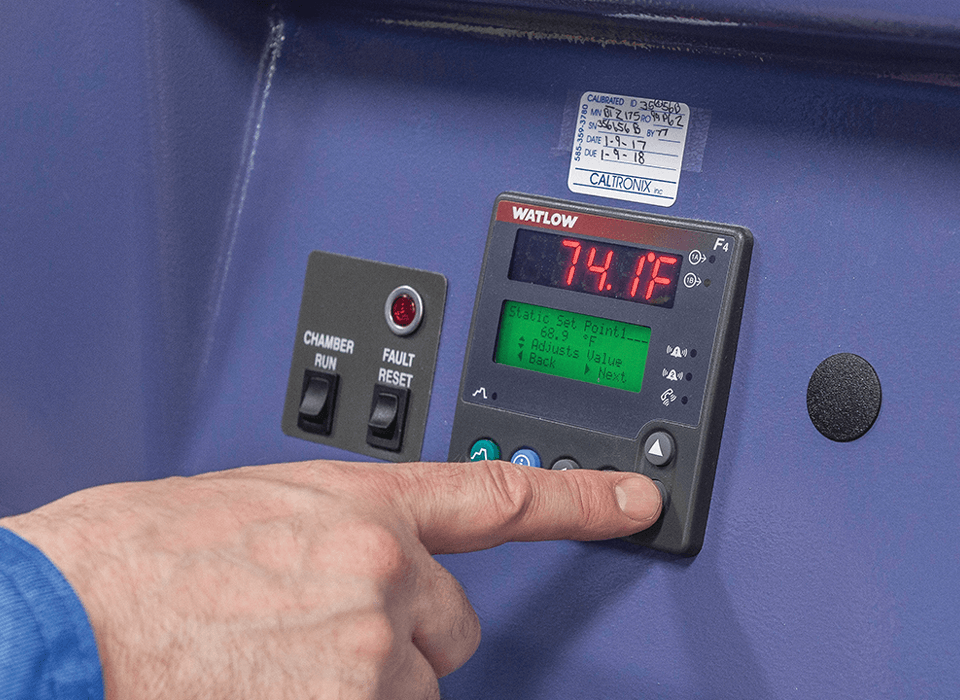
Taber’s standard calibration includes an eleven (11) point pressure run at ambient temperature (6 ascending and 5 descending, in 20% steps). It also includes the recording of zero and full-scale signal output values at ambient, upper, and lower compensated temperature limits.
From these 17 values, Taber calibration specialists calculate:
Linearity – the amount of deviation from the transducer’s “ideal” straight line performance using the BFSL method.
Hysteresis – the ability of the transducer to provide the same output when the same increasing and then decreasing pressures are applied consecutively.
Repeatability – the ability of the transducer to produce the same output with consecutive applications of the same pressure.
Thermal Zero Error -the ability of the transducer to produce consistent output at zero pressure within the compensated temperature range (CTR)
Thermal FSO Error -The ability of the transducer to produce consistent output at full-scale pressure within the compensated temperature range (CTR)
Static Error Band (Static Accuracy) – components of the static error band include linearity, hysteresis, and repeatability calculated using the Root Sum Square (RSS) method. This is measured at ambient temperature.
Total Error Band (Accuracy through temperatures) – This is the overall accuracy of the transducer representing its calculated accuracy within the Compensated Temperature Range (CTR) for which it was made.

To meet a customer’s additional requirements, Taber Industries offers special transducer testing services shown below. In addition, Taber has a select group of certified testing vendors to perform even more advanced testing for our satellite and space program transducers.

If your Taber Industries pressure transducer is in need of rework, contact us for additional information and/or to obtain a Return Material Authorization* (RMA) number – please be prepared to provide the serial number of the transducer. All potential rework units will be assessed a non-refundable evaluation fee. The typical lead time for evaluation is 2 weeks from receipt of the unit. After evaluation, if the unit is re-workable, Customer Service will quote rework charges. If the unit is not re-workable, and the customer decides to purchase a replacement unit, the evaluation fee will be credited toward the replacement purchase.
If you have a Taber pressure transducer and require information about your unit (e.g. excitation requirements, In/Out wiring, or other characteristics), contact us. The information requested may be available in our archives.
*Return Material Authorization numbers (RMA) will be issued by Customer Service and are required for all transducer evaluations. The RMA number will be utilized for tracking purposes and needs to be clearly identified on the outside of the packaging of the returned unit. In addition, a completed Taber Service Request Form needs to be included in the package of the returned unit.
The year of manufacture for a Taber pressure transducer can be determined by its serial number. Prior to the year 2000, the first two digits of the 6-digit serial number represented the year of its manufacture (e.g. s/n 951234 was made in 1995). In the year 2000, Taber switched to 8-digit serial numbers with the first four digits representing the year of manufacture (e.g. s/n 20101234).
If you have a question regarding Taber Transducer products, please complete the following form and we will contact you as soon as possible.
US & Canada